Setting up your workspace
FeenoX Tutorial #0
Table of contents
TL;DR: Do
sudo apt install feenox gmsh paraviewand you are good.
1 Foreword
FeenoX is a cloud-first engineering tool. Therefore, it runs natively on GNU/Linux platforms.
If you do not use GNU/Linux and do not want to learn to use it, then FeenoX is not for you. You can still use it through graphical interfaces. Please take a look at
- CAEplex which is an app to perform CAE in the cloud CAD tool Onshape, and/or
- SunCAE which a free and open-source web-based interface for FeenoX and other back ends. SunCAE also runs on GNU/Linux but the interface can be used from a browser in any operating system (including mobile). Since it is free software, you have the freedom to hire someone to set it up for you and then use it from Windows.
Here is a 5-min explanation of why it works this way, and why it is not expected to run in Windows (although it can/may/might run in Windows if you try hard enough—but trust me, it is not worth it):
Also, check out the whitepaper “Why FeenoX is different”.
Theoretically, the tool could be compiled and run in other architectures such as Windows or MacOS in a non-cloud approach. However, this is highly discouraged because those two operating systems are
- not cloud-friendly, let alone cloud-first; and
- neither free-as-in-free-beer nor open source.
In order to take the tutorials that follow, it is then recommended to stick to GNU/Linux as explained below.
The best way to learn and to understand how FeenoX works is to use a native GNU/Linux distribution as the main operating system, either in a laptop or a desktop PC. This sentence from PETSc’s Matt Kneppley from 2015 speaks for itself:
“It is really worth any amount of time and effort to get away from Windows if you are doing computational science.”
https://lists.mcs.anl.gov/pipermail/petsc-users/2015-July/026388.html
If you already use GNU/Linux then you are almost set! Any distribution will do, although FeenoX is developed in Debian so
apt-get(orapt) will be used as the package manager. Note that the names of the packages being installed as dependencies may vary from distribution to distribution. The instructions work for Debian and Ubuntu.If you do not currently use GNU/Linux as your main operating system and still do not want to spend any time nor effort on doing things right, you can either
- fire up a virtual GNU/Linux server in a cloud provider (e.g. AWS, Azure, DigitalOcean, Contabo, etc.) and connect through SSH, or
- use a containerized GNU/Linux (e.g. with
docker), or - use a GNU/Linux box through an virtual computer emulator (e.g. VirtualBox, VMWare, Vagrant, etc.)
Note that any of these three options is at least as difficult as using a native GNU/Linux box. Anyway, everything is free software so you get the freedom to hire someone to help you.
Up to this point, I assume you have access to a Unix-like shell
(i.e. a GNU/Linux terminal, MacOS or even Cygwin or something of the
like) as a regular user and that you have permissions to use
sudo. If you do not know what this means, ask your favorite
LLM for help. Spend some time (which will be really worth it)
familiarizing with working with the terminal, issuing commands, etc.
In the following sections there will be terminal mimics. Lines
starting with $ show commands that ought to be typed into
the command line. The $ itself does not have to be typed as
it is part of the prompt. Lines not starting with a dollar sign show the
output of the invoked command. For example
$ feenox
FeenoX v1.2.9-gba91ca3
a cloud-first free no-fee no-X uniX-like finite-element(ish) computational engineering tool

usage: feenox [options] inputfile [replacement arguments] [petsc options]

  -h, --help         display options and detailed explanations of command-line usage
  -v, --version      display brief version information and exit
  -V, --versions     display detailed version information
  -c, --check        validates if the input file is sane or not
  --pdes             list the types of PROBLEMs that FeenoX can solve, one per line
  --elements_info    output a document with information about the supported element types
  --ast              dump an abstract syntax tree of the input
  --linear           force FeenoX to solve the PDE problem as linear
  --non-linear       force FeenoX to solve the PDE problem as non-linear

Run with --help for further explanations.
$
When the output of a command is too long and not important for the
tutorial, an ellipsis is denoted with [...]:
$ feenox
[...]
$
2 FeenoX
The most important thing to set up is FeenoX itself.
- If you have a recent Debian or Ubuntu version (i.e. from 2025 or later) then you can install FeenoX from the official repositories, or
- You can download a pre-compiled binary from the FeenoX’s servers, or
- You download the source code and compile FeenoX yourself. Do not worry, it is a matter of pasting some lines in a terminal.
If you get stuck or get an error, please ask for help in the Github discussions page.
2.1 Using Apt in Debian/Ubuntu newer than 2025
Use Apt to install FeenoX:
$ sudo apt install feenoxIf you are using Debian Trixie and have not done so, activate the backports
$ sudo echo "deb http://deb.debian.org/debian trixie-backports main" > /etc/apt/sources.list.d/trixie-backports.list
$ sudo apt update
[...]
$ apt-cache search feenox
feenox - cloud-first free no-X uniX-like finite-element(ish) tool
and then do sudo apt install feenox.
You can check it worked by doing
$ feenox -v
FeenoX v1.2
a cloud-first free no-fee no-X uniX-like finite-element(ish) computational engineering tool

Copyright © 2009--2025 Jeremy Theler, https://seamplex.com/feenox
GNU General Public License v3+, https://www.gnu.org/licenses/gpl.html.
FeenoX is free software: you are free to change and redistribute it.
There is NO WARRANTY, to the extent permitted by law.
2.2 Download pre-compiled binaries
Download a binary tarball from https://seamplex.com/feenox/dist/linux/ and copy the
executable into /usr/local/bin so it is globally available.
To download the tarball you need wget and to un-compress it
tar and gz (which should be already installed
anyway), so do
$ sudo apt-get install wget tar gzip
$ wget https://seamplex.com/feenox/dist/linux/feenox-1.2.9-linux-amd64.tar.gz
[...]
$ tar xvzf feenox-1.2.9-linux-amd64.tar.gz
[...]
$ sudo cp feenox-1.2.9-linux-amd64/bin/feenox /usr/local/bin/
$
If you do not have root access, read the complete download and compilation instructions. Search for “root” and read along.
You should now be able to invoke FeenoX by executing
feenox from any directory. See the “Invocation” section of
the FeenoX
Manual for details about how to invoke it. Check this is the
case:
$ feenox
FeenoX v1.2.9-gba91ca3
a cloud-first free no-fee no-X uniX-like finite-element(ish) computational engineering tool

usage: feenox [options] inputfile [replacement arguments] [petsc options]

  -h, --help         display options and detailed explanations of command-line usage
  -v, --version      display brief version information and exit
  -V, --versions     display detailed version information
  -c, --check        validates if the input file is sane or not
  --pdes             list the types of PROBLEMs that FeenoX can solve, one per line
  --elements_info    output a document with information about the supported element types
  --ast              dump an abstract syntax tree of the input
  --linear           force FeenoX to solve the PDE problem as linear
  --non-linear       force FeenoX to solve the PDE problem as non-linear

Run with --help for further explanations.
$
2.3 Compiling from source
You can get FeenoX’s source code by either
- downloading a source tarball from https://seamplex.com/feenox/dist/src/
- cloning the Git repository at https://github.com/seamplex/feenox
The basic compilation instructions are
sudo apt-get update
sudo apt-get install git build-essential make automake autoconf libgsl-dev libsundials-dev petsc-dev slepc-dev
git clone https://github.com/seamplex/feenox
cd feenox
./autogen.sh
./configure
make -j4
make check
sudo make install
If using a source tarball instead of the Git repository, replace
git clonebywgetand skipautogen.sh.If you do not have root permissions, configure with your home directory as prefix and then make install as a regular user:
./configure --prefix=$HOME
make
make install
export PATH=$PATH:$HOME/bin
If you want to tweak the compilation flags, use other libraries, modify the code or just learn how FeenoX works, follow the Compilation instructions.
Again, do not hesitate to ask in the Github discussion page.
2.4 Executing an example
The FeenoX examples are a set of annotated input files that can be found online at https://www.seamplex.com/feenox/examples/. These examples range from a simple “Hello World” down to thermo-mechanical problems.
Let us run one of them to check FeenoX works. Find the examples
directory and cd into it. If you have a binary version, it
will be in share/doc/examples. If you have the source
tarball or cloned the repository, it will be directly
examples.
So far the only example that already comes with a mesh (so Gmsh is not needed to run it) is the “Parallelepiped…” one:
$ cd examples
$ feenox parallelepiped-thermal.fee
2.43384e-10
$ feenox parallelepiped-mechanical.fee
9.5239e-05
$
The smaller the numbers, the better the convergence with respect to the analytical solution. After installing Gmsh below, we will refine the meshes and check these numbers decrease.
2.5 Executing a test
By design, FeenoX has to have a set of tests such that if a
regression is introduced in the code (say someone flips a sign by
mistake), the bug can be quickly detected and eventually fixed. The
tests are run with make check when compiling the source, as
explained in the Compilation
instructions.
Alternatively, go to the tests directory, pick any of
the shell scripts ending in .sh and run them:
$ cd tests
$ ./nafems-le1.sh
nafems-le1.fee 1 ... ok
nafems-le1.fee 2 ... ok
nafems-le1.fee 3 ... ok
nafems-le1.fee 4 ... ok
nafems-le1.fee 5 ... ok
nafems-le1.fee 6 ... ok
nafems-le1.fee 7 ... ok
nafems-le1.fee 8 ... ok
$
If any of the lines does not say ok but something else,
then the code contains at least one error.
3 Gmsh
To solve problems involving partial differential equations
(i.e. elasticity, heat conduction, neutron transport, etc.) FeenoX needs
a mesh in Gmsh’s MSH
format. Any mesher whose output format can be converted to
.msh should work, although of course the most natural way
to create these meshes is to use Gmsh
itself.
The easiest way to go is to install Gmsh from the apt
repository:
$ sudo apt-get install gmshCheck gmsh is globally available by calling it with
-info:
$ gmsh -info
Version       : 4.10.5
License       : GNU General Public License
Build OS      : Linux64
Build date    : 20220701
Build host    : gmsh.info
Build options : 64Bit ALGLIB[contrib] ANN[contrib] Bamg Blas[petsc] Blossom Cgns DIntegration Dlopen DomHex Eigen[contrib] Fltk Gmm[contrib] Hxt Jpeg Kbipack Lapack[petsc] LinuxJoystick MathEx[contrib] Med Mesh Metis[contrib] Mmg Mpeg Netgen ONELAB ONELABMetamodel OpenCASCADE OpenCASCADE-CAF OpenGL OpenMP OptHom PETSc Parser Plugins Png Post QuadMeshingTools QuadTri Solver TetGen/BR Voro++[contrib] WinslowUntangler ZlibF
FLTK version  : 1.4.0
PETSc version : 3.14.4 (real arithmtic)
OCC version   : 7.6.1
MED version   : 4.1.0
Packaged by   : geuzaine
Web site      : https://gmsh.info
Issue tracker : https://gitlab.onelab.info/gmsh/gmsh/issues
$
It should be noted that depending on the version of the base
operating system, the Gmsh version in the apt repository
might be old enough so as to fail with the examples provided in the
tutorials, that are based on recent Gmsh versions. If this is the case,
as with FeenoX above, you can always download newer Gmsh binaries:
$ wget http://gmsh.info/bin/Linux/gmsh-4.10.5-Linux64.tgz
[...]
$ tar xvzf gmsh-4.10.5-Linux64.tgz
[...]
$ sudo cp gmsh-4.10.5-Linux64/bin/gmsh /usr/local/bin
Also, Gmsh can be compiled from source by following the instructions in the documentation.
It is important to note that Gmsh creates its meshes by reading an
input file with extension .geo without needing to use a
graphical interface at all. Therefore, Gmsh can be used even through
ssh or docker where there is no graphical
device. However, it does provide a GUI that is very handy to create the
.geo in the first place and to help identify the ids of the
surfaces that will be subject to boundary conditions (or volumes for
material properties). So you will be able to go through the tutorials in
text-only mode but you will not be able to exploit its full potential
nor even see what the mesh you are using look like.
3.1 Checking that mesh refinement gives more accurate results
Let us now go back to the examples directory and refine
the mesh of the “Parallelepiped…”
case.
$ gmsh -3 parallelepiped.geo -order 1 -clscale 1.2 -o parallelepiped-coarse.msh
[...]
$ gmsh -3 parallelepiped.geo -order 2 -clscale 0.6
[...]
$ feenox parallelepiped-thermal.fee
1.05973e-10
$ feenox parallelepiped-mechanical.fee
6.95446e-05
$
Don’t worry if you do not understand the Gmsh command line. We will work out the details in the tutorials.
4 Text editor
In order to create the both the FeenoX and the Gmsh input files, you will need a text editor. In principle any editor will do, but since FeenoX uses keywords to define the problem being solved, it is way more efficient (and aesthetically more pleasant) to use one that supports syntax highlighting.
So far, FeenoX supports highlighting for Vim and Kate, both discussed below. Other editors such as Emacs, Nano, Pico, Gedit, etc. can be used.
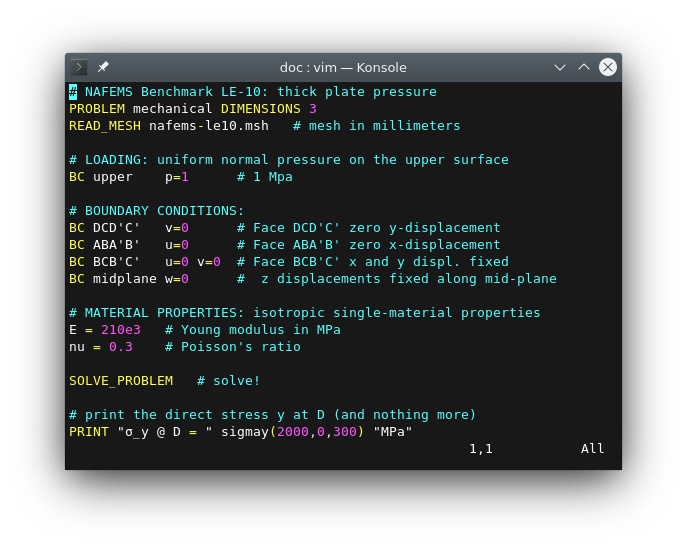
4.1 Vim
The vim text editor can be perfectly used to edit input
files. It is text-only so it works through ssh and
docker. It has a non-trivial learning curve but it is worth
to learn its basics because at some point you will want to run FeenoX in
an actual cloud server. Vim will be
your friend there.
To enable syntax highlighting copy the file fee.vim
into ~/.vim/syntax.
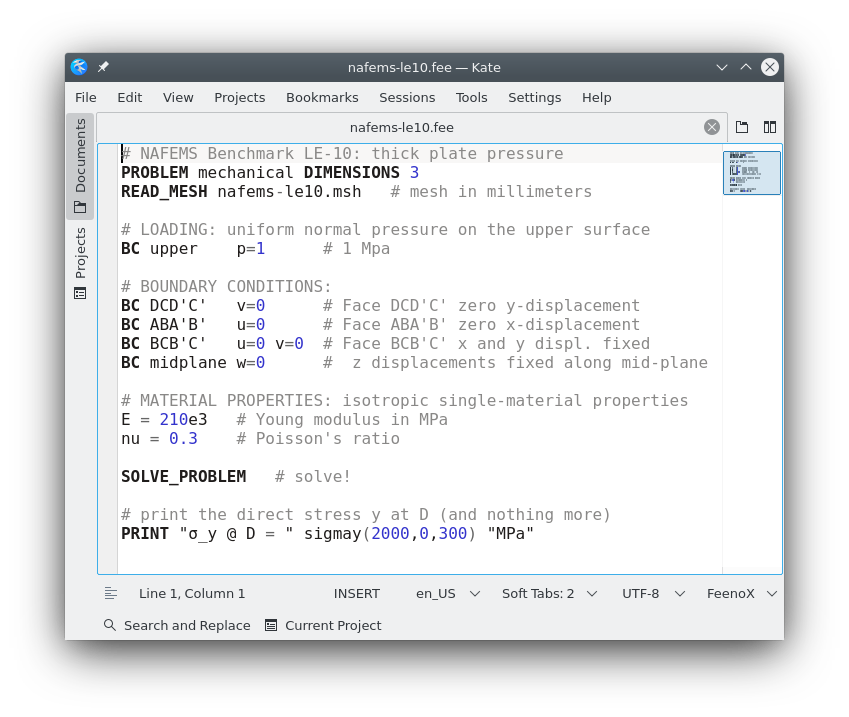
4.2 Kate
For those using a native GNU/Linux box with a graphical interface, the recommended editor is Kate.
To enable syntax highlighting copy the file feenox.xml
into ~/.local/share/katepart5/syntax/.
5 Post-processors
FeenoX can write mesh results either in .msh or
.vtu/.vtk format. The former can be read and
postprocessed by Gmsh. The latter can be
read and postprocessed by a few different tools, but Paraview is the flagship
postprocessor. In general any version will do, so it can be installed
with
$ sudo apt-get install paraviewAlso binaries and source versions can be downloaded.
Note that both Gmsh in post-processing mode and Paraview make sense only if you have access to a graphical device.
6 Notes on hardware
TL;DR: Use a remote server to run large problems.
6.1 Memory
Solving PDEs with FeenoX might need a lot of memory (depending on the problem size). Mind the total RAM your system has. If you are using a laptop, FeenoX might thrash it if the problem is way too big.
6.2 CPU
Solving problems with FeenoX during a lot of time might increase the CPU temperature significantly. Make sure your hardware is properly cooled before executing FeenoX during a long period of time.